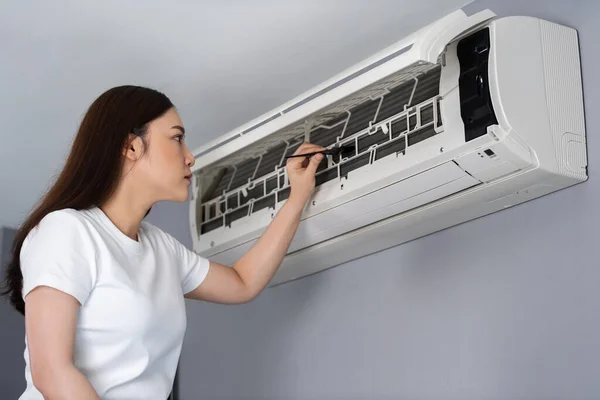
Unlocking Efficiency: A Step-by-Step DIY Guide to Cleaning Your Air Conditioner for Enhanced Performance and Air Quality
Investing in a new air conditioner is a significant step towards creating a comfortable indoor environment. However, to ensure its longevity and optimal performance, regular maintenance is key. In this DIY guide, we’ll walk you through the essential steps to clean your air conditioner effectively, enhancing both its efficiency and the quality of the air it circulates.
Why Cleaning Your Air Conditioner Matters:
- Improved Efficiency: A clean air conditioner operates more efficiently, consuming less energy to cool your space and reducing utility bills.
- Enhanced Air Quality: Regular cleaning removes dust, pollen, and other allergens trapped in the system, promoting healthier indoor air quality.
- Extended Lifespan: By preventing dirt buildup and potential damage, cleaning prolongs the lifespan of your air conditioner, maximizing your investment.
When your furnace starts showing signs of wear and tear, it might be time for a furnace replacement. Click here for more information on our furnace replacement services.
Step 1: Safety First
Before you begin cleaning your air conditioner, ensure your safety by disconnecting power to the unit. This typically involves switching off the circuit breaker or unplugging the unit from the power source.
Step 2: Clean or Replace Filters
Dirty filters restrict airflow, reducing the efficiency of your air conditioner. Remove and clean reusable filters with water and mild detergent or replace disposable filters as needed. Aim to perform this task every 1-3 months, depending on usage.
Step 3: Clear Debris from the Exterior
Inspect the exterior unit for any debris such as leaves, twigs, or grass clippings. Use a vacuum or a soft brush to gently remove debris from the fins and surrounding area. Ensure the unit has adequate clearance of at least two feet for proper airflow.
Step 4: Clean the Condenser Coils
Dirty condenser coils impede heat transfer, diminishing the cooling capacity of your air conditioner. Use a coil cleaner or a mixture of water and mild detergent to carefully clean the coils. Rinse thoroughly and allow them to dry completely before restoring power to the unit.
Step 5: Check and Clean the Drainage System
Clogged condensate drains can lead to water damage and mold growth. Inspect the drainage system for blockages and clear any debris using a stiff brush or a wet/dry vacuum. Consider adding a biocide treatment to prevent mold and algae growth in the future.
Step 6: Inspect and Straighten Fins
Bent or damaged fins can restrict airflow, reducing the efficiency of your air conditioner. Use a fin comb or a butter knife to carefully straighten any bent fins, taking care not to damage them further.
Step 7: Reassemble and Test
Once you’ve completed cleaning and maintenance tasks, reassemble the unit and restore power. Test the air conditioner to ensure it’s operating smoothly and efficiently.
Regular cleaning is essential for maintaining the efficiency and performance of your air conditioner. By following this DIY guide, you can effectively clean your air conditioner, promoting improved efficiency and air quality while extending its lifespan. Remember to schedule professional maintenance annually for comprehensive servicing and peace of mind.